Canning squash for frying is about to be your favorite way to save fresh squash. The canning process is bare minimum and can be done within a few minutes. It’s no wonder canning recipes have been around for years. The pint jars give you easier access to fresh vegetables when ready for frying. Canning is becoming more and more recognized. In addition, home food preservation is a growing interest of many locals in the United States.
What Is Canning Squash?
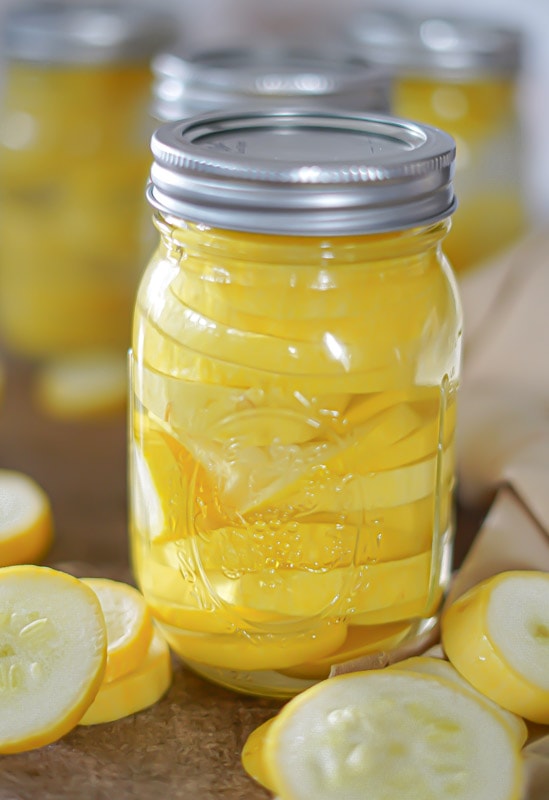
Canning squash is when you place your fresh squash in a bath of hot water, distilled white vinegar, and salt then place them in a mason jar for preservation. This can be done in many different ways. My favorite is the hot water bath. You can use several different types of squash. When you have prepared your fried squash add a side of hot honey sauce.
Canning Squash for Frying…Why Make
Approachability- If this is your first canning for yellow squash recipes, you are in for a treat. In today’s world, people love easy. I know I do. So, this recipe for canning squash for frying later is definitely the easy recipe idea you need.
Make Months Ahead- It’s no secret that these squash cubes can be made ahead of time. Suppose you want to make them in the Spring, for the fall. You most certainly can. All you would need to do is store them in a dark place and return for them later. Sounds easy enough, right?
Cost Effective- We all know that vegetables can sometimes go bad within the first few days of purchasing them. Naturally, you may feel like you’ve wasted money. This is where the freezer bags and canning jars method comes in handy.
Ingredients For Canning Squash For Frying
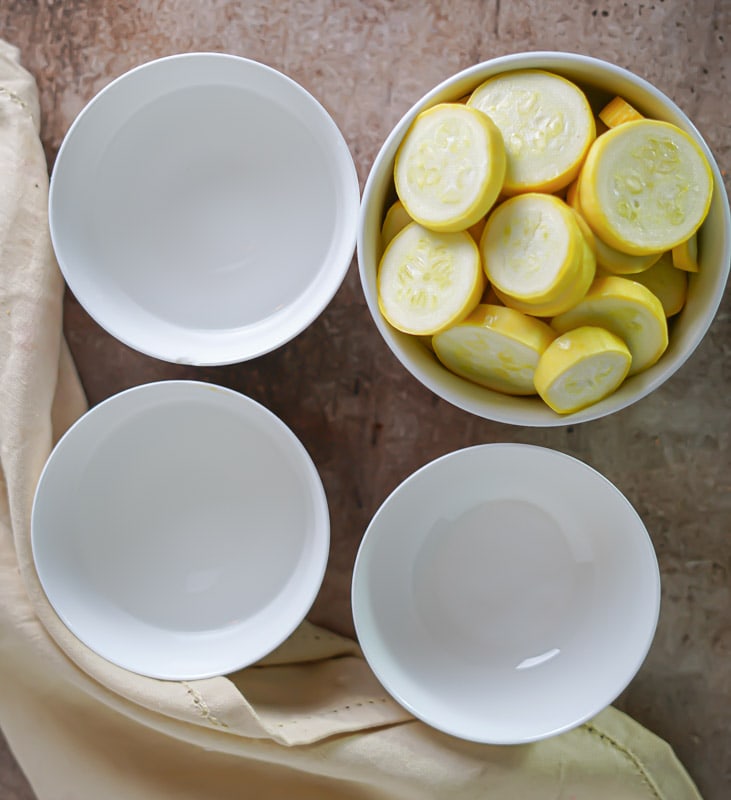
- Squash- regular squash will do just fine when preparing your summer squash. The amount of squash that you use is your personal preference. Thin slices work the best. Try cutting them into 1-inch cubes for fried squash. If you have young squash, I don’t recommend using them. Wait until they get a little more mature.
- 4 Cups of water- The water is for boiling the squash. You will need a large pot. I used about 4 to 5 squash pieces, so you may need a smaller pot depending on the amount you use for the canning squash for frying process.
- Salt- The salt is to help to enhance flavor, preserve the squash, maintain texture, and ensure food safety. You don’t want to miss this step because it ensures the squash stays fresh as long as possible before frying.
- White Vinegar- Canning squash for frying at a later use is a must. The use of vinegar in canned squash helps to preserve the vegetable and extend its shelf life. Vinegar is a natural acid that creates an acidic environment in the canned product, which helps prevent the growth of bacteria, yeasts, and molds that can cause spoilage. Additionally, vinegar adds a tangy flavor to the squash, enhancing its taste. Also, don’t worry. You wont taste the vinegar when frying.
How To Make Canning Squash For Frying?
1. First, start off by picking the right squash from the grocery store. Go for the ones without bruises or soft spots. Yellow and zucchini squash are always better when canning squash for frying. Next, you want to wash your squash under cold water to remove any dirt. Once done, dry with a paper towel or clean towel.
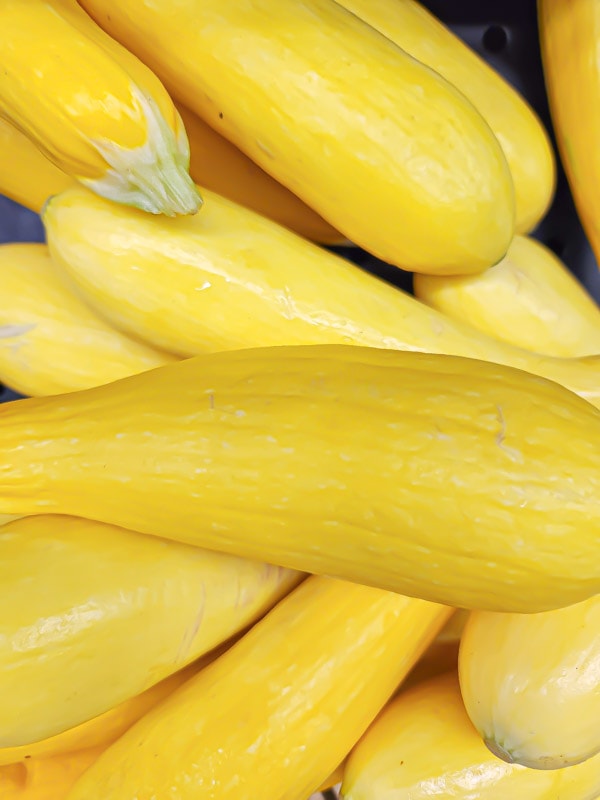
2. Cut the ends off of the squash, then cut the remaining winter squash into 1-inch slices, thin cubes, or sticks. It depends on your preference for things.

3. You want to sterilize the lids and rings of your canning jar if you haven’t already. Follow the manufacturer’s instructions for this process. Pack the blanched squash tightly into the jars, leaving about 1 inch of headspace at the top.

4. In a separate pot, combine 4 cups water, vinegar, and salt. In a safe way, please bring it to a boil, stirring until the salt is dissolved. About 2-3 minutes.

5. Pour the hot brine over the packed squash (single layer), leaving 1/2 inch of headspace. Use a clean, non-metallic utensil to remove air bubbles and ensure the brine completely covers the squash. Wipe the jar rims clean, place the lids on top, and screw the rings on tightly. Be careful, as the jars and caps will be hot.

6. Place the jars in a pot and bring to a boil. Ensure the jars are fully submerged and have at least 1 inch of water above them. Process the jars in a boiling water bath for the recommended time based on your altitude and the size of the pots. This can range from 10-15 minutes, depending on the size of the jar. I used a quart mason jar.

7. After processing, carefully remove the jars from the water bath with tongs and place them on a towel-lined countertop. Allow them to cool undisturbed for 12-24 hours.

8. After cooling, check that the lids have been sealed by pressing down on the center of each cover. If it does not pop back, the seal is secure. If jars do not close, refrigerate and consume them within a few weeks.
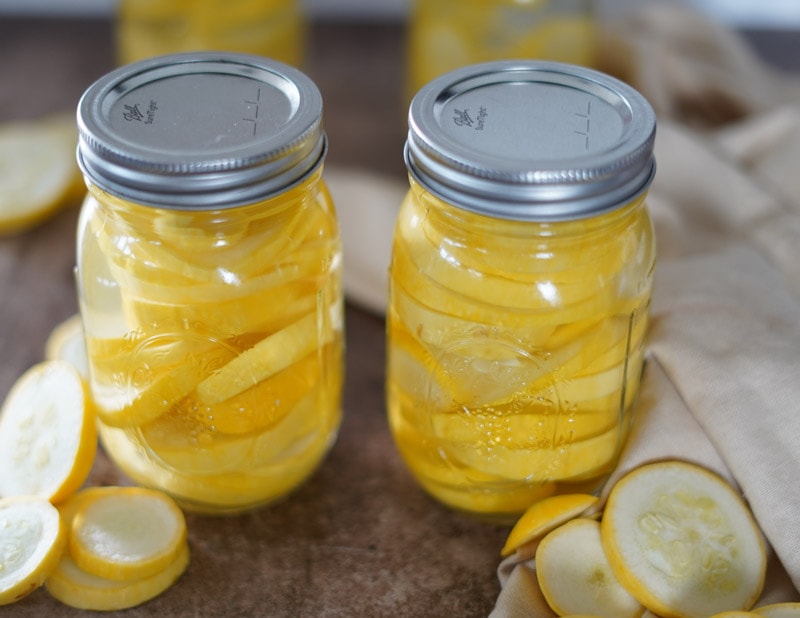
9. With a marker, label the contents and date, and store them in a cool, dark place. Canned squash can be stored for up to a year.
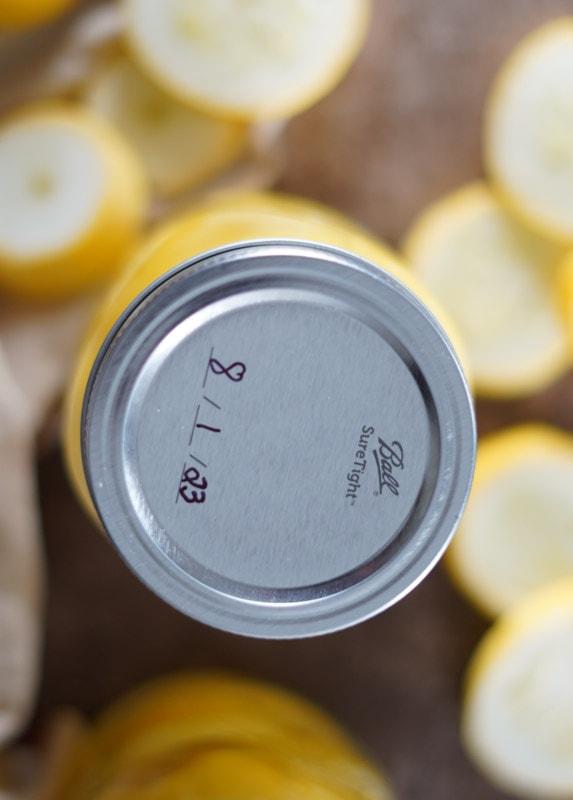
10. When you’re ready to enjoy your canned squash, drain them from the brine and fry them in a hot skillet with oil until golden brown and crispy. Serve them as a side dish.
Variations
Various Vegetables- I love canning squash because you don’t only have to use squash. You can use zucchini, summer squashes, spaghetti squash, pickles, cucumbers, or just about any fresh vegetable you can get your hands on.
Spices and Onions– Add in different types of spices and onions. Simply place onions and your choice of spices into the mason jar. Refer back to the instructions above.
Substitutions
Celery Salt- If you don’t want pure salt in your squash flesh, a great way to eliminate the pure salt is to add celery salt instead of pure salt.
Equipment You Will Need
Mason Jars, tongs, pressure canner, and napkins.
Different Ways For Canning Squash For Frying
- Pressure Cooker- Using a pressure cooker can speed up the cooking time with you plain squash.
- Pressure Canning– The modern way of canning uses a pressure canner. You can definitely opt for this option. It’s your preference.
Benefits of Squash
Squash has a ton of benefits and is a great option due to the benefits of Vitamin C, which improves hand-to-eye coordination, brain health, bone health, enhanced concentration, boosted metabolism, helps with stress relief, and also improves flexibility.
Questions
Why do you blanch squash?
When you blanch the squash, it helps to preserve the color of the squash.
What is the healthiest squash to eat?
Butternut, acorn, and zucchini squash all share similar health benefits and are healthy to eat.
When to tell if squash is ripe?
On plain squash the skin should be glossy and bright yellow. The skin should also be tender and easy to puncture. They are usually 6 to 8 inches long. Try to stay away from the larger squash.Squash that is too big will have large seeds, and can sometimes become too tough to eat.
How long does squash last once they are canned?
Canned squash can last for quite a long time if stored properly. When canned using proper techniques, squash can last for up to 1 to 2 years. It is important to follow safe canning practices and ensure that the jars are properly sealed and stored in a cool, dark place.
However, it’s important to note that the quality of the squash may deteriorate over time, even if it remains safe to consume. The texture and flavor may change, and the squash may become softer. It’s always a good idea to check the appearance, smell, and taste of canned squash before consuming it, especially if it has been stored for an extended period of time. If there are any signs of spoilage or if the food looks or smells off, it’s best to discard it to avoid any potential health risks.

In Conclusion
In conclusion, canning squash for frying is gonna be your new favorite thing to do if you love to have squash year around and would like to keep them for stocked up on your shelves to enjoy fried squash or any other type of meal with squash. This is the perfect recipe for you!
Canning Squash For Frying

Equipment
- Mason Jars
- Tongs
- Pressure canner
- Towel
Ingredients
- 4 to 6 Squash Chopped Removing the seeds are optional)
- 2 Tablespoons White vinegar
- 4 to 6 Cups Water
- 1/4 Cups Kosher salt
- 1 Tablespoon Sugar Optional
- 4 Garlic Cloves Optional
- 4 Sprigs of fresh dill Optional
Instructions
- First, start off by picking the right squash from the grocery store. Go for the ones without bruises or soft spots. Yellow and zucchini squash are always better when canning squash for frying. Next, you want to wash your squash under cold water to remove any dirt. Once done, dry with a paper towel or clean towel.4 to 6 Squash
- Cut the ends off of the squash, then cut the remaining winter squash into 1-inch slices, thin cubes, or sticks. It depends on your preference for things.
- Now, you want to sterilize the lids and rings of your canning jar if you haven’t done so already. Follow the manufacturer’s instructions for this process.
- Pack the blanched squash tightly into the jars, leaving about 1 inch of headspace at the top.
- In a separate pot, combine 4 cups water, vinegar, and salt. In a safe way, please bring it to a boil, stirring until the salt is dissolved. About 2-3 minutes.2 Tablespoons White vinegar, 4 to 6 Cups Water, 1/4 Cups Kosher salt
- Pour the hot brine over the packed squash (single layer), leaving 1/2 inch of headspace. Use a clean, non-metallic utensil to remove air bubbles and ensure the brine completely covers the squash. Wipe the jar rims clean, place the lids on top, and screw the rings on tightly. Be careful, as the jars and lids will be hot.
- Place the jars in a pot and bring to a boil. Ensure the jars are fully submerged and have at least 1 inch of water above them. Process the jars in a boiling water bath for the recommended time based on your altitude and the size of the pots. This can range from 10-15 minutes depending on the size of the jar. I used a quart mason jars.
- After processing, carefully remove the jars from the water bath with a pair of tongs and place them on a towel-lined countertop. Allow them to cool undisturbed for 12-24 hours.
- After cooling, check that the lids have been sealed by pressing down on the center of each lid. If it does not pop back, the seal is secure. If any jars did not seal, refrigerate and consume them within a few weeks.
- With a marker label the contents and date, and store them in a cool, dark place. Canned squash can be stored for up to a year.
- When you’re ready to enjoy your canned squash, drain them from the brine and fry them in a hot skillet with oil until golden brown and crispy.


