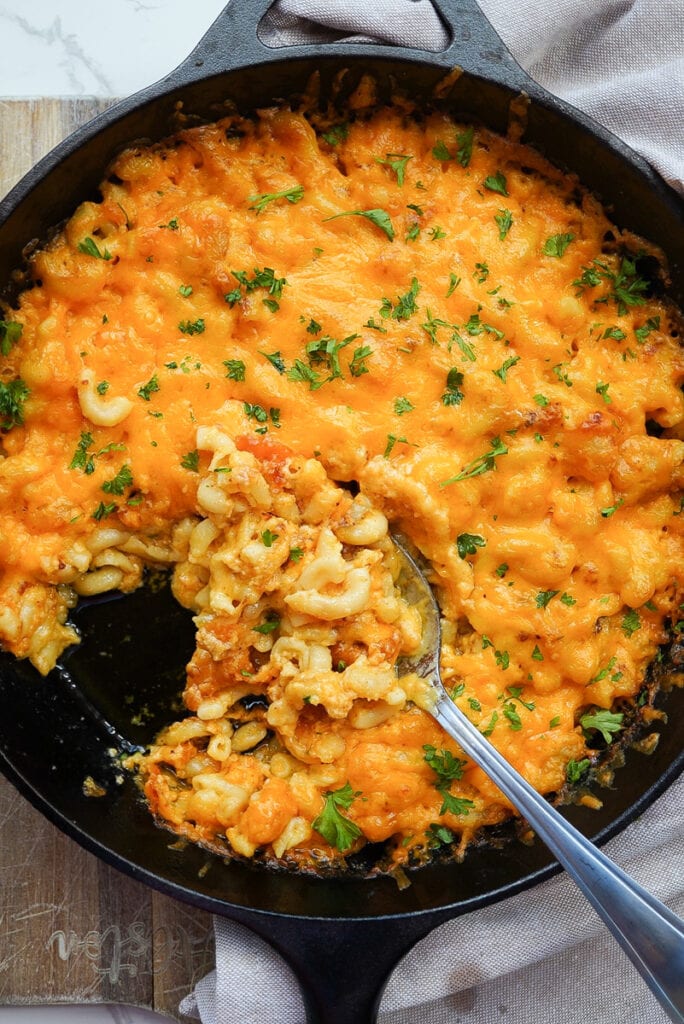
Cast iron mac and cheese is the perfect recipe to place on the table for a Thanksgiving side. It’s so creamy not to mention how quick and easy this skillet Mac and cheese is to recreate! We start this baked Mac and cheese recipe by making a nice creamy cheese sauce to smother over those elbow noodles. Well, enough of my babbling. Let’s create the ultimate comfort food.
Why make this cast iron Mac and cheese?
This perfect baked mac recipe of mine was a hit when I posted it. It’s filled with a ton of different cheeses that will have your tastebuds jumping up and down for joy. The cream sauce itself is incredibly delicious. When making this recipe, the only thing you will need is your appetite. Haha, it is seriously that good. This Southern macaroni will pair perfectly with my buttermilk fried chicken and southern green beans.
Ingredients for cast iron skillet mac and cheese
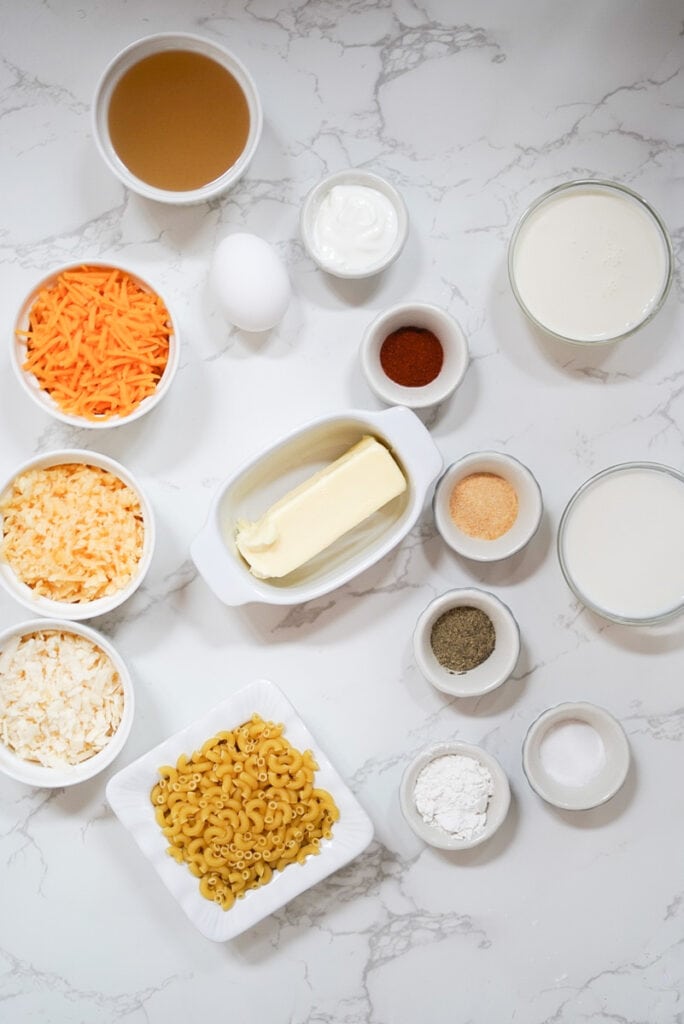
The ingredients in this baked macaroni recipe is pretty lengthy, but I promise you will love this recipe!
Heavy Whipping Cream– Smoother Mac and cheese cream sauce.
Whole milk– This will help to make the cream sauce a lot thicker.
Elbow noodles- Honestly, you can use any type of pasta noodles you like in this homemade macaroni.
Flour– Allows the gravy to become thick.
Butter-Adds an immense amount of flavor.
Types of Cheese-Sharp shredded Cheese, Gouda Cheese, and Asiago Cheese
Sour cream– makes the mac and cheese a lot creamier l.
Egg-Adding eggs to this recipe isn’t required, but it’s definitely recommended.
Chicken Stock-To boil noodles. Doing this will give your noodles an indescribable amount of flavor!
Seasonings– Black pepper, garlic powder, and paprika. All of these seasonings work together to combine the perfect amount of flavor.
Full list in recipe card
How To Make Cast Iron Mac and Cheese?
To make this cast iron Mac and cheese, you first need to start with a nice creamy cheese sauce base. To do that, you will first need to gather all your ingredients and place them to the side, so this can be a smooth baking experience.
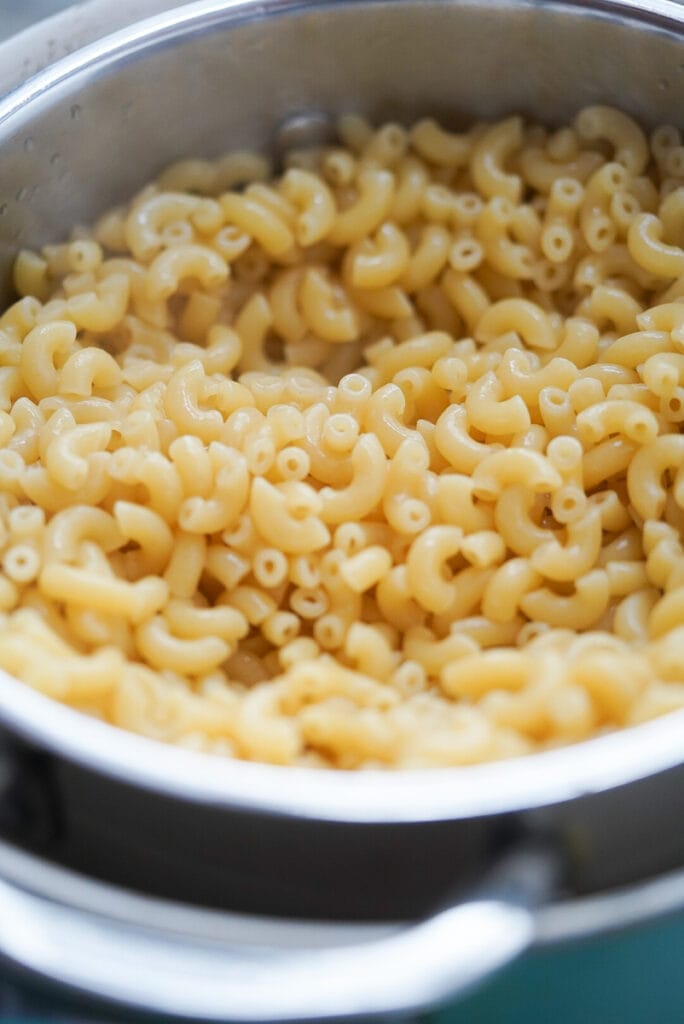
In a deep pot on medium-high heat add in your chicken stock.
Once the chicken stock begins to boil add in your elbow noodles and cook to al dente. (package directions) Begin to grate your cheese and set it to the side in a bowl.
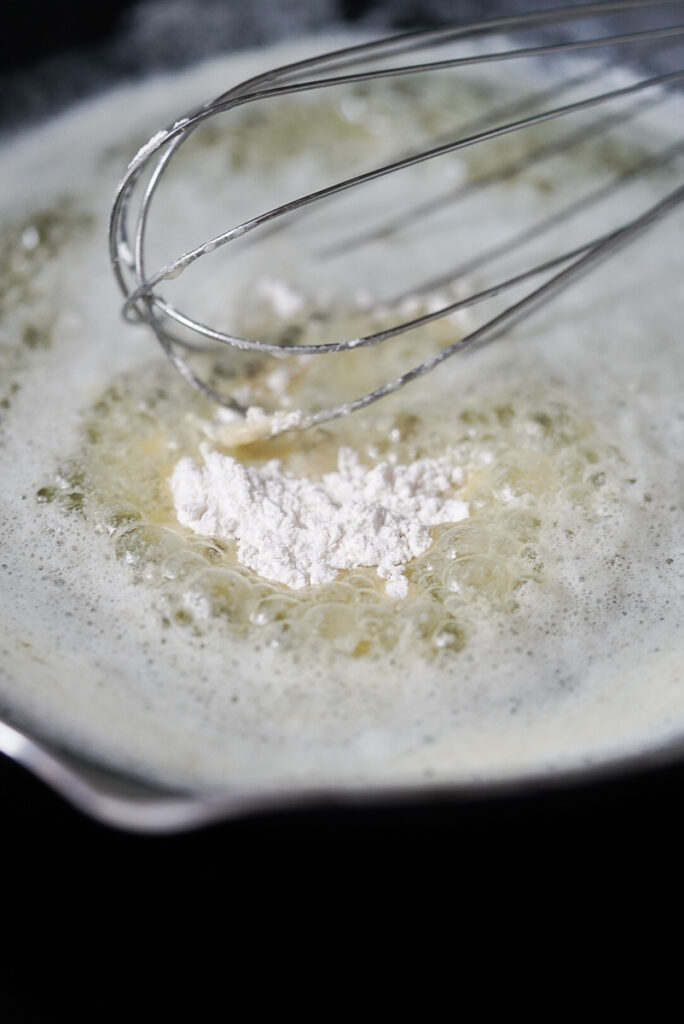
Once the butter has melted gently stir in the flour and continue to stir until the flour dissolves.
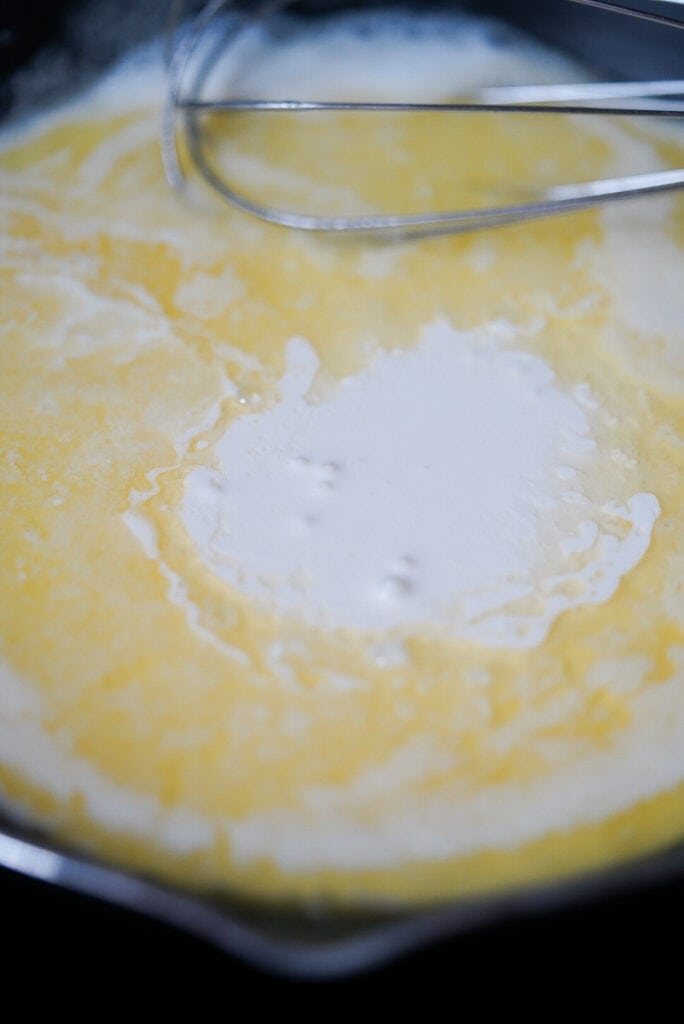
Add your whole milk and continue to whisk.
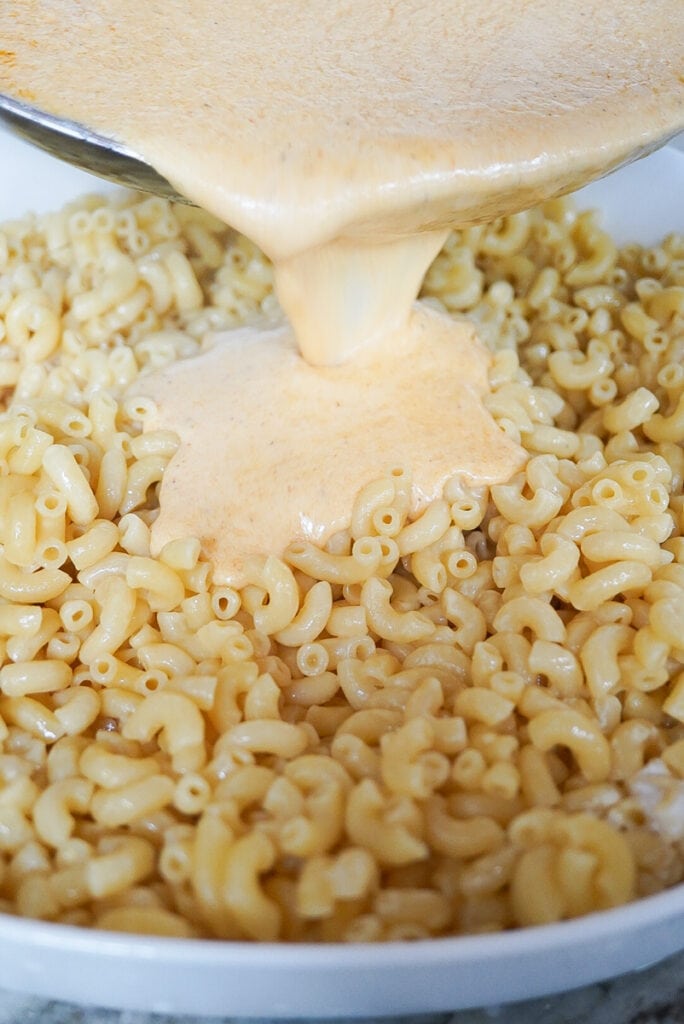
Next, pour in your cheese sauce mixture and begin to stir.
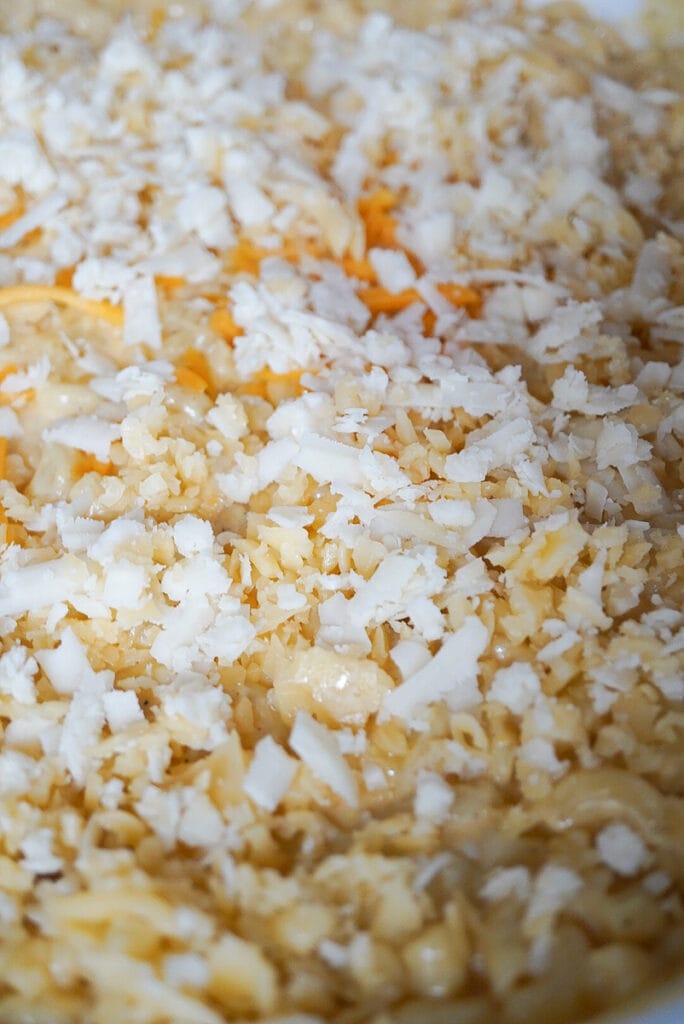
Make sure to cover all of the noodles with good cheese sauce.

Variations
- Add more seasonings such as mustard powder, and cayenne pepper.
- Switch your kinds of cheese to something like Monterey Jack or parmesan cheese.
Equipment
You will only need a cast iron skillet for this recipe and, of course, the other food ingredients. That’s pretty much all you will need to make this cast iron skillet mac and cheese.
Storage for cast iron Mac and cheese
Store this tick-tok Tok Mac and cheese in an airtight container and place it in the refrigerator. You can also store this cast iron Mac and cheese in a ziplock bag. You know the real deal ziplock bags like Hefty.
Reheating
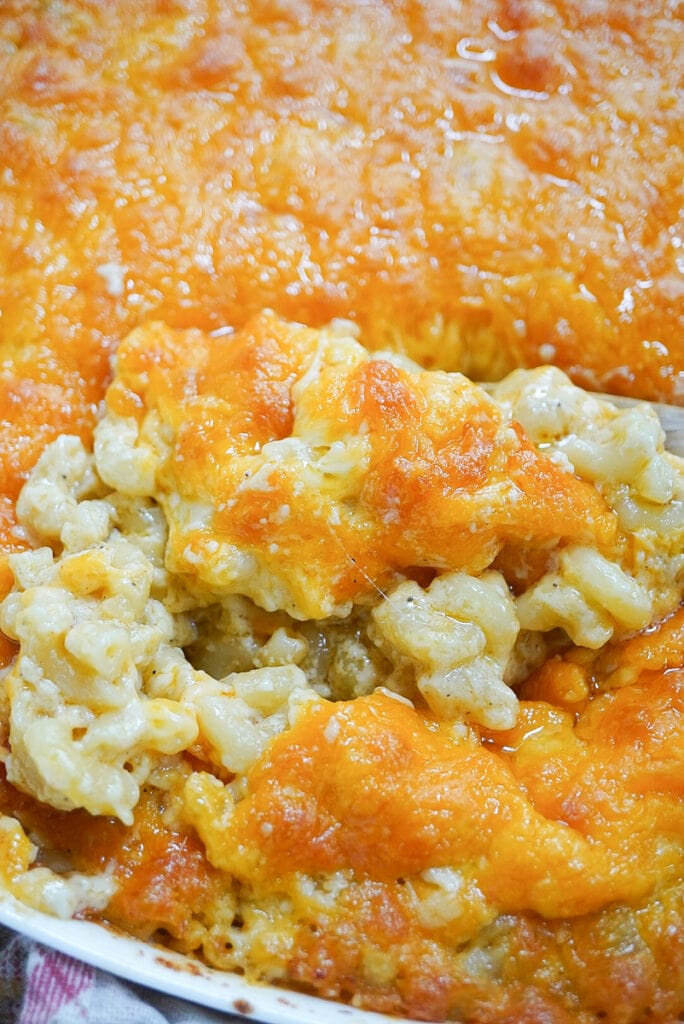
Cast iron skillet mac and cheese can be pretty hard to bring back to life after you have allowed it to cool but don’t worry, I have a solution. Place your cast iron Mac and cheese in an oven-safe container. Just add in a small amount of butter, and place in the oven for 30 seconds. Lastly, take it out of the oven then stir the Mac and cheese. Place it back in the oven until it reaches your desired temperature.
Common Questions
Can you freeze Mac and cheese?
Yes, you can freeze Mac and cheese. You will need to place the mac and cheese in an airtight ziplock bag and place it in the fridge. I would portion the amount of macaroni out, being careful not to add too much in one ziplock bag.
Can you make Mac and cheese without milk?
Yes, you can. You can use water, butter, cream cheese, or sour cream, just to name a few replacements.
What type of cheese to use in this creamy Mac and cheese?
For this Mac and cheese recipe, you can choose to use whatever cheese you like, but I prefer to use sharp shredded cheese, Gouda cheese, and Asiago cheese. When you combine all these cheeses together, you will have one of the best-cast iron skillet mac and cheese.
What type of noodles do I use in this macaroni and cheese recipe?
For my Mac and cheese recipe, I used elbows noodles. I have used other noodles, such as rigatoni and penne, just to name a few.
In Conclusion
This cast iron mac and cheese will be a huge hit and a delicious recipe for everyone to enjoy.
Here is a list of other recipes you will enjoy
If you liked this recipe, you should try pairing it with my bbq beef ribs.
Well, until next time, folks.
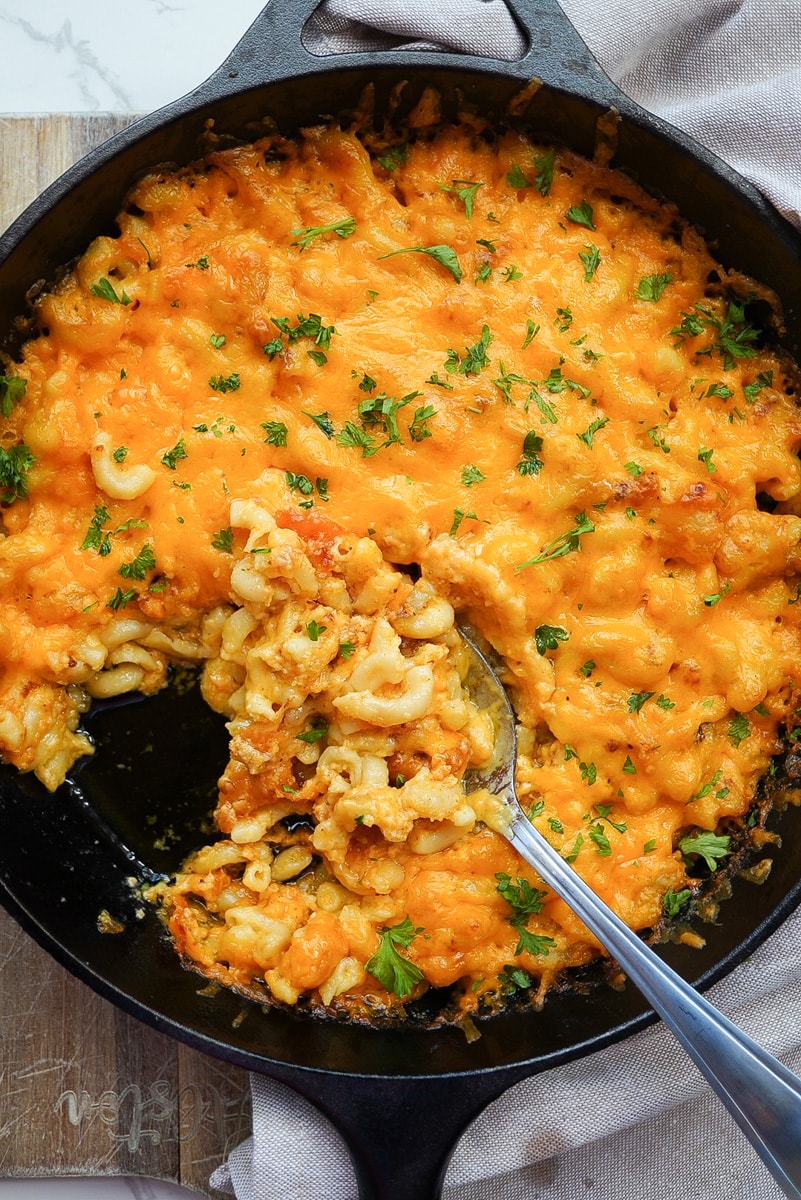
How To Make Cast Iron Mac and Cheese
Equipment
- Cast Iron Skillet 10-12 Inch
Ingredients
- 2 Cups Heavy Whipping Cream
- 1 Cup Whole milk
- 1 lb Elbow noodles
- 1 Tablespoon Flour
- 1 Stick Butter
- 2 Cups Sharp Shredded Cheese As much cheese as you like
- 1/2 Cup Gouda Cheese As much cheese as you like
- 1/2 Cup Asiago Cheese As much cheese as you like
- 1/4 Cup Sour cream
- 1 Large Egg
- 32 Oz Chicken Stock
- 1 Tbsp Salt Half for Boiling Noodles
- 1/2 Tsp Ground Black Pepper To your liking
- 1/2 Tsp Garlic Powder
- 1/2 Tsp Paprika
Instructions
- Preheat your oven to 350 degrees
- In a deep pot on medium-high add in your chicken stock32 Oz Chicken Stock
- Once the chicken stock begins to boil add in your elbow noodles, and 1/2 Tbsp salt. Cook noodles until al dente1 lb Elbow noodles, 1 Tbsp Salt
- Begin to grate your cheese and set it to the side in a bowl2 Cups Sharp Shredded Cheese, 1/2 Cup Gouda Cheese, 1/2 Cup Asiago Cheese
- In a saucepan over medium heat add in your butter and allow the butter to melt1 Stick Butter
- Once the butter has melted gently stir in the flour and continue to stir until the flour dissolves1 Tablespoon Flour
- Add in your heavy cream slowly and stir/whip until the mixture becomes smooth2 Cups Heavy Whipping Cream
- Add your whole milk and continue to whisk1 Cup Whole milk
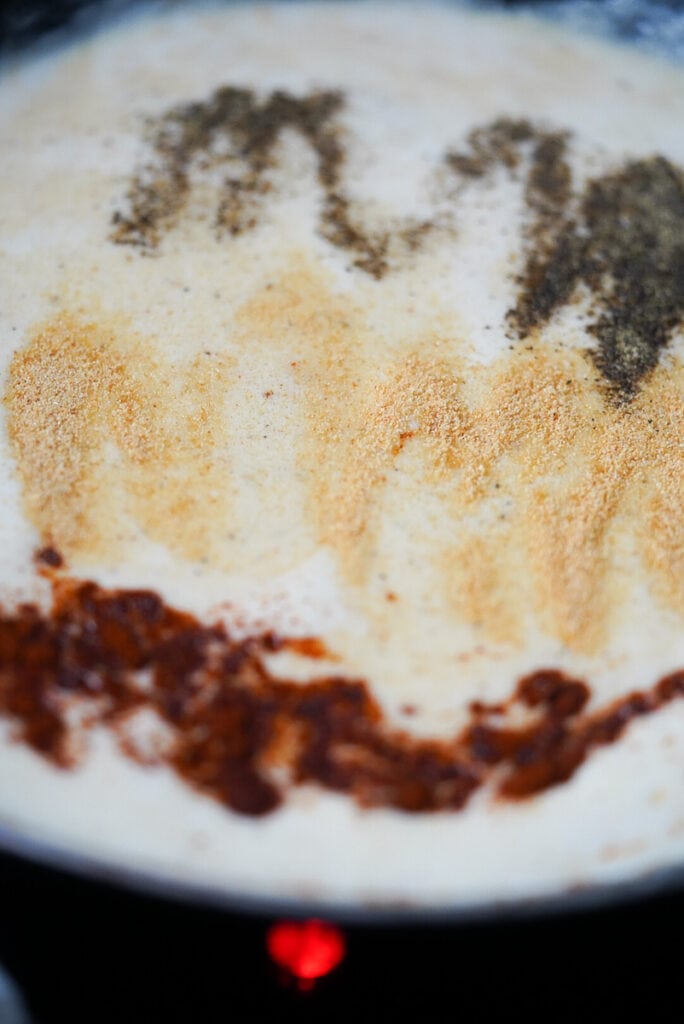
- Add in your seasonings(paprika, garlic powder, salt, and pepper)1 Tbsp Salt, 1/2 Tsp Garlic Powder, 1/2 Tsp Paprika, 1/2 Tsp Ground Black Pepper
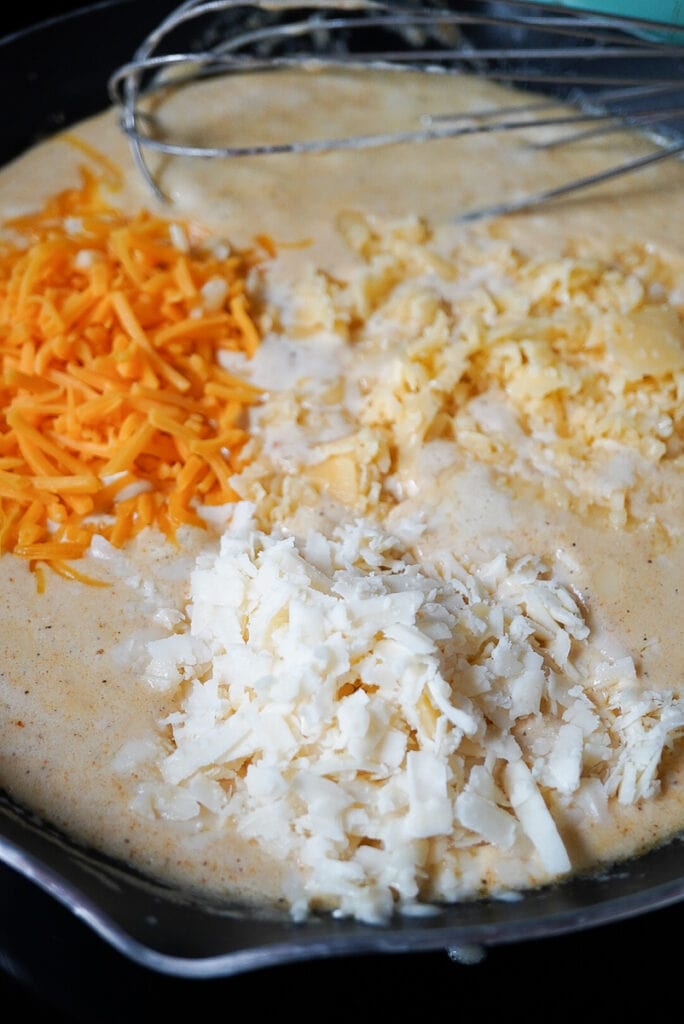
- Add in half of your cheese, stir into the sauce for about 20 seconds then remove from the stove2 Cups Sharp Shredded Cheese
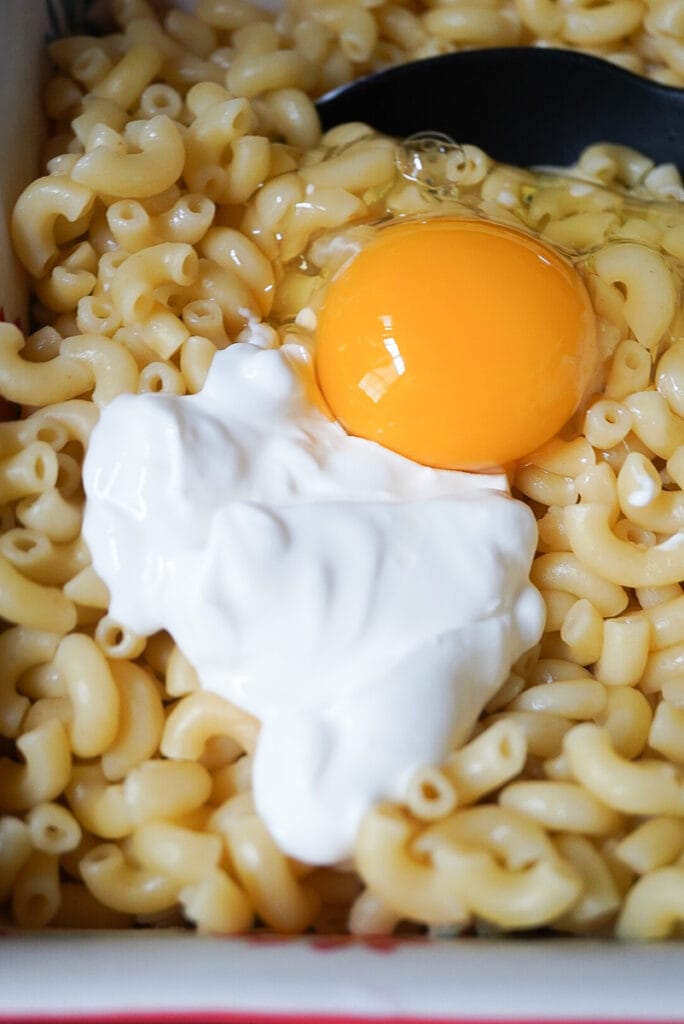
- Add in your egg and sour cream to noodles then mix until dissolved1 Large Egg, 1/4 Cup Sour cream
- In a cast-iron pot add in your cooked noodles. Try not to overfill the pan
- Next, pour in your cheese sauce mixture and begin to stir
- Add the remaining cheese into the cast iron potMake sure to cover all of the noodles with cheese
- Place in the oven for 20 to 30 minutes or until the top of the mac and cheese is slightly browned
- Enjoy!!!

